
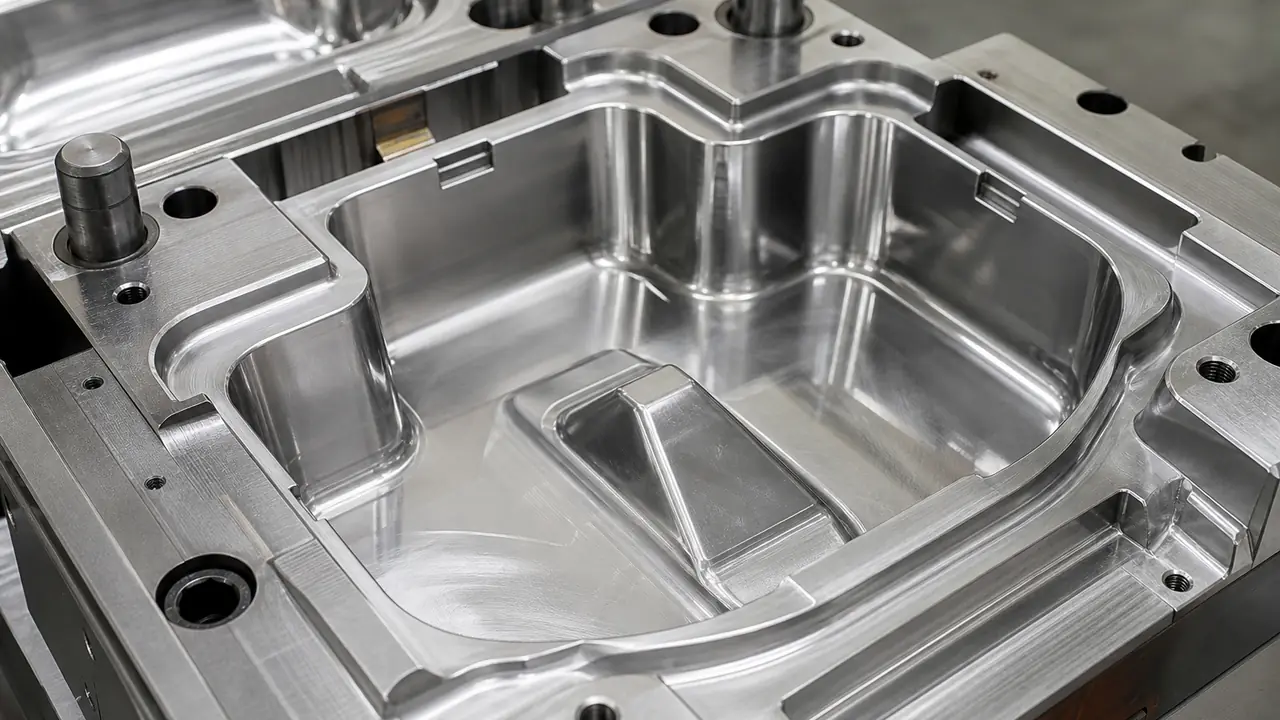
How in-mold labeling works
An in-mold label is a printed film, cut to the shape of the container wall or lid. Before each shot, a robot picks a label from a magazine and places it against the cavity wall of the open mold, where it is held by vacuum or by a static charge. The mold closes, the melt fills the cavity, and the hot plastic fuses with the back of the label. When the part is ejected, the label is no longer a separate layer stuck on; it is part of the wall.
For food containers the label film is usually PP, the same material as the container. That has two effects. The label bonds well because like fuses with like, and the finished part stays a single material, which helps where recyclability claims or sorting rules matter. Claims about recyclability still need their own basis; see recycling codes on containers.
IML is most common on injection molded parts: tubs, cups, lids and storage containers. A version for thermoforming exists, where the label is placed on the forming tool and the heated sheet fuses with it, but it is less common in takeout ranges. The tooling side is on the injection molding page.
IML against the other decoration routes
IML is one of several ways to put a brand on a container. Each suits a different volume, design and use.
| Route | How it is applied | Strengths | Limits |
|---|---|---|---|
| In-mold label | Printed film fused into the wall during molding | Full-surface photo-quality graphics, no peeling, resists moisture and freezing | IML-ready mold and robot, label stock per design, longer setup |
| Dry offset print | Ink transferred from a blanket onto the molded part | Fast on round cups and tubs, low cost per piece in volume | Limited colors, no photo images, round shapes only |
| Screen print | Ink pushed through a mesh onto the part | Strong opaque colors, works on flat lids and boxes | One color per pass, slower |
| Pressure-sensitive label | Self-adhesive label applied after molding | Low entry quantity, easy design changes | Can peel or wrinkle in the freezer or dishwasher |
| Paper sleeve or band | Printed card wrapped around the container or set | No change to the container, works on stock molds | Removed before use; brand leaves with the sleeve |
The other routes are described in printing on plastic containers and on the printing and labeling page.
When IML is worth it
IML makes sense when the decoration is part of the product, not just the packaging. Retail storage containers sold on a shelf, branded food tubs, reusable meal prep sets and lids that carry a full design are the usual cases. The label survives washing, freezing and handling far better than a sticker, and it covers curved and side walls that offset printing cannot reach.
It makes less sense for single-use takeout boxes, where a printed sleeve, a bag or a sticker on the lid does the job without changing the mold, and for ranges where the design changes often. Every new artwork means new label stock, and a changeover means emptying the label magazine and loading the next design.
A practical test is to ask how long the artwork will stay unchanged and how many pieces per design the program will sell in that time. A brand with a stable core range of three or four storage sizes, each selling steadily through the year, is a good IML candidate. A seasonal or promotional range with many short runs is usually better served by sleeves, labels or printed cartons on stock molds, which keep the container itself flexible and the entry quantity low.
What IML changes in the mold and the line
A standard mold cannot simply start running labels. IML needs:
- A mold designed for it. Vacuum channels or a charge system to hold the label, wall sections and gate position chosen so the melt does not wrinkle or wash the label.
- A robot and label magazine. Placement must be accurate on every shot; a shifted label is a visible reject.
- Label stock. Labels are printed, cut and delivered before molding starts, so their lead time sits ahead of the molding schedule.
- Static and dust control. A label holds dust, and dust trapped under a label is permanent.
This is why IML is planned at the mold stage. Converting an existing stock mold is sometimes possible and sometimes not; the desk asks the partner plant to confirm before a design is drawn.
Food contact and the label
The label sits on the outside of the container, and the inner surface that touches food is the container plastic. Even so, the label film, its inks and its coatings are part of the finished article, so the food contact file should cover them. For Europe, the declaration of compliance to Regulation 1935/2004 and Regulation (EU) 10/2011 is for the finished container, and migration testing is done on the finished, labelled part where the market requires it. Inks on food packaging also raise the question of set-off, where ink transfers to the food side of a stacked part. For the US, the PP container is declared against FDA 21 CFR 177.1520 per supplier declaration. Documents are issued to partner plants or brands per project and verified by the desk; confirm the scope with your test lab. See food contact safety.
Quality checks for IML parts
The appearance standard for IML parts is stricter than for plain parts, because every defect is printed. The desk agrees these points on the golden sample: label position and the gap at the seam, wrinkles and bubbles, color against the approved proof, label edge lift after freezer and dishwasher checks where relevant, and trapped dust. Lid fit is checked as for any container, since the label adds a layer to the wall.
Order planning
Printed items typically start at 10,000-50,000 pieces per item, and a new mold from 50,000-100,000 pieces, all confirmed in writing per program; IML runs are quoted per design once the plant has confirmed the mold and label route. Lead time adds label printing ahead of molding. See MOQ and lead time, and send the design, the container and the market through the quote form.