
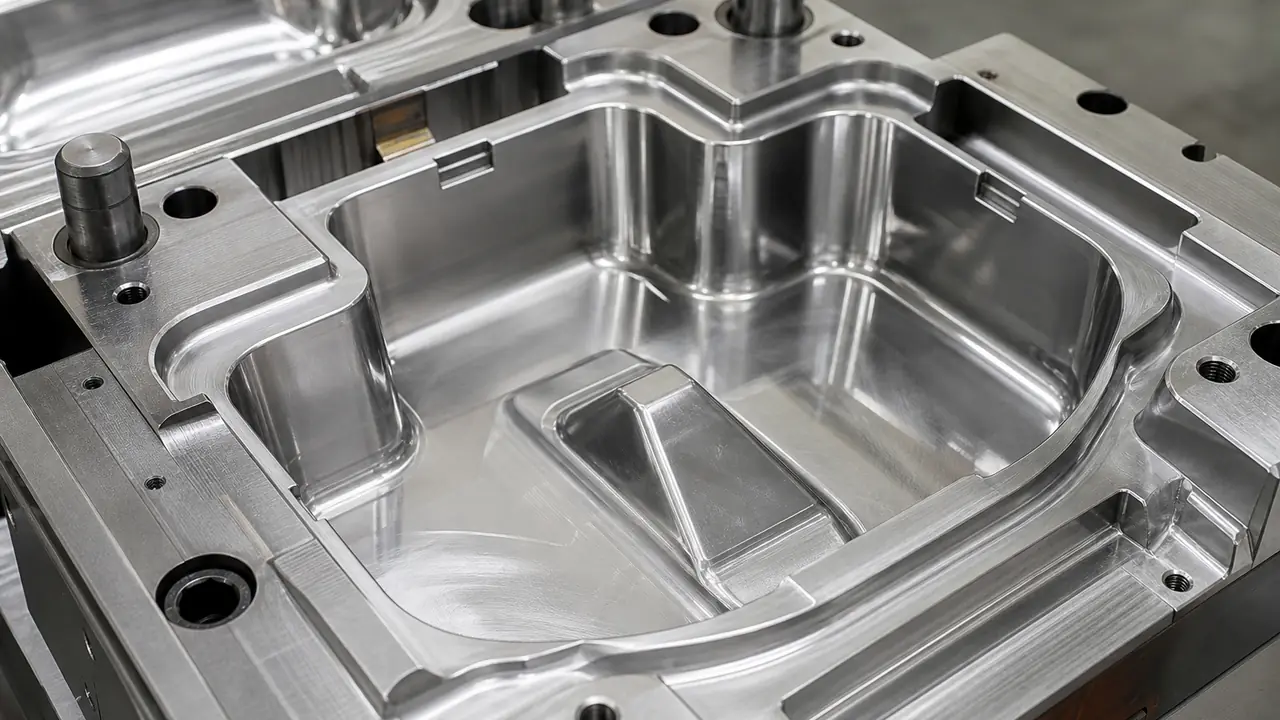
Why the trial stage matters
A drawing describes the container a buyer wants; the mold decides the container the buyer gets. Plastic shrinks as it cools, walls warp if they cool unevenly, and two parts molded separately, such as a base and a lid, have to meet within a narrow tolerance. None of that can be fully settled on paper. The trial stage is where the mold is run for the first time, the parts are measured against the drawing and the steel is corrected until base and lid fit. Most of the quality of a custom container program is decided here, and so is most of its schedule.
As a typical reference, a T1 trial comes about 25-45 days after the mold is ordered, and a first production order with a new mold takes about 45-60 days including tooling, confirmed in writing per program. The steps below explain where that time goes.
The sequence at a glance
| Stage | What the plant produces | What the buyer does |
|---|---|---|
| Drawing and brief | Review of the 3D model or reference part | Supply size, capacity, material per part, use, market |
| Design review | Comments on draft, walls, gates, undercuts, shrinkage | Accept or adjust; confirm what the design must keep |
| Mold design | Mold layout: cavities, gate, cooling, ejection | Approve cavity count, steel and gate position |
| Mold build | Machined steel, progress photos | Track schedule; plan print and packing in parallel |
| T1 trial | First shots and a measurement report | Review samples: size, weight, fit, appearance |
| Corrections and T2 | Steel adjustments and a second trial | Recheck the points that failed at T1 |
| Golden sample | Approved reference parts, signed | Sign and keep a set; it becomes the inspection standard |
Design review before steel is cut
A design review, sometimes called a manufacturability review, is where the mold maker reads the drawing as a molder would. The usual comments concern draft on walls and texture, wall thickness and whether it is even, gate position and the mark it leaves, undercuts such as snap beads and how they are released, and the shrinkage the material will show. For food containers there is also the rim: the base rim and the lid profile are designed together so the lid fit can be tuned later. Draft and undercuts are covered in draft angle and demolding.
The buyer's job at this stage is to say what must not change. If a box has to fit a delivery bag, a shelf or a carton, the outer size is fixed and the mold maker adjusts the inside. If capacity is the selling point, the inner volume is fixed. Changes are cheap on a drawing and expensive in steel. It also helps to name the material of every part at this stage, base, lid, seal and insert, because shrinkage differs by material and the mold is cut for one specific resin.
When a sample mold makes sense
Some programs start with a sample mold: a simpler tool, usually single cavity and sometimes in a softer material, used to make enough parts to check shape, fit with other products and user handling before the production mold is built. It adds time and cost, so it is worth it mainly for new shapes where the fit with something else is uncertain, such as an insert for a set, a lid for an existing base or a storage box that must fit a fixed drawer. For a variation on a known container shape, the production mold's T1 trial usually does the job.
The T1 trial
T1 is the first time the production mold runs on a press. The plant sets the process, runs a short series of shots and sends samples with a measurement report. The desk asks for these points on every container T1:
- Outer and inner dimensions against the drawing, by cavity number.
- Gram weight per piece, by cavity.
- Lid fit on rested parts, not straight off the press, including opening force.
- A tilt and inversion check with liquid where the container holds liquid.
- Appearance: gate mark, ejector marks, flow lines, flash at the rim.
- Stack and denest behaviour with a short stack.
T1 parts are rarely perfect, and they are not meant to be. They show where the steel needs to change.
Corrections, T2 and steel-safe design
Mold makers often leave critical dimensions steel safe: the cavity or core is cut so that any correction means removing steel, which is straightforward, rather than adding it, which needs welding and is riskier. After T1, the plant adjusts the rim, the snap bead or the walls and runs a second trial, T2. Most container molds settle in one or two correction rounds; a complex part with a hinge, clip or valve seat may need more. Each round adds days, which is why the reference ranges for new molds are ranges rather than fixed dates.
The golden sample
When the parts meet the drawing and the agreed checks, the buyer and the plant sign a set of golden samples. These are kept on both sides, one set at the partner plant and one in the program file, and they become the standard for every production lot: dimensions, weight, color, gate mark, lid fit and print. A program without a signed golden sample has no clear reference when a dispute comes later. The wider sample route, from stock samples to golden sample, is set out in the container sample process, and the inspection side on quality control.
Running print and packing in parallel
The mold build is the longest wait, so the time is best used for everything else: print proofs and sleeves, carton dimensions based on the drawing, food contact documents for the material, and the inspection plan. When the golden sample is signed, production can start straight away. Stock samples, by comparison, take about 3-7 working days and printed samples about 7-15 working days. See MOQ and lead time, the related note on mold cost and ownership, or send a drawing through the quote form.